
© 1998-


Doors &
Windows
Part 2
Removing the Vent Window & Frame
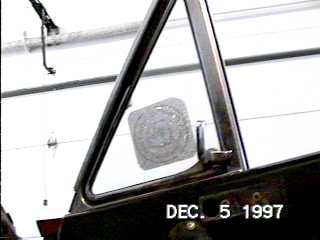
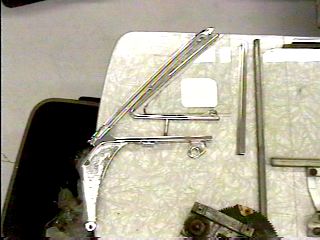
The left photo still in the car. The right photo is after removal from the car-
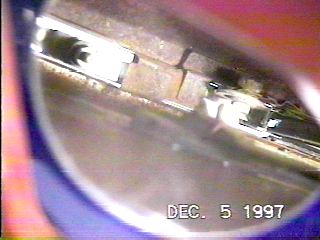
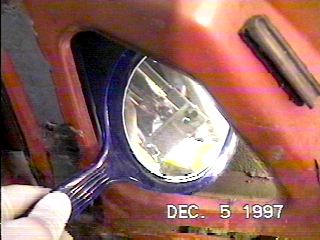
This is looking up into the door cavity at the bottom of the vent window frame through a mirror.
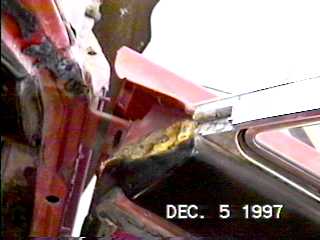
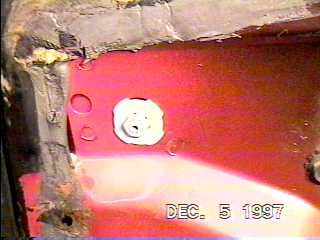
This shows the location of the front bolt for the vent window frame (in the middle of the yellow colored area). It is normally covered by a custom fit piece of weather stripping.
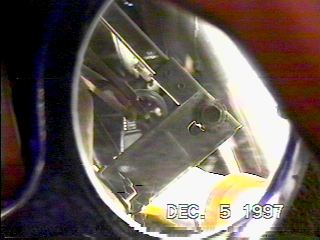
This shows the front roll up glass run as it is attached to the bottom adjusting
bracket, looking inside the door cavity through a mirror toward the rear of the car.
The right is a close-
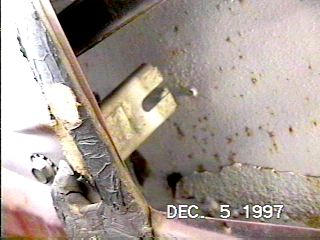
This is the same bracket as above looking in through another hole looking forward. The right photo shows the adjusting slot in the bracket after the glass run has been removed.
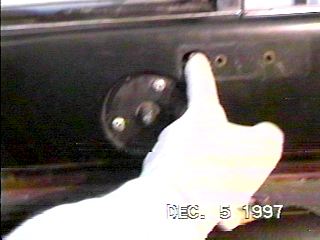
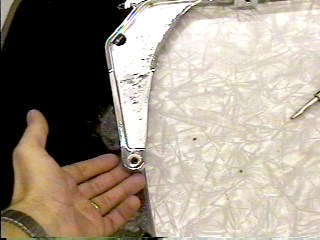
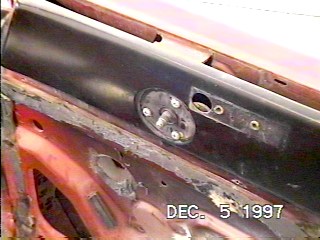
These two photos show the location of the top rear bolt for the vent window frame. It is where my finger is pointing in the left photo and is normally covered by a chrome Sprint or Futura emblem. This is where the larger non threaded bolt hole is fastened that is discussed at the top of this section.
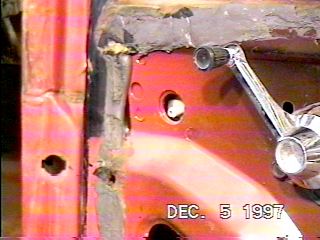
The top two photos show the lower front adjusting bolt for the vent window frame. The center of the bolt has an allen key hole which is used for adjusting the frame (top of the frame left or right) so it mates well with the windshield frame. The allen screw hole is also used to hold the screw in position while the retaining nut is tightened. The photo on the right is the same adjusting bolt with the nut and retaining washer removed. The bottom photo above is after the frame has been removed from the car and shows the location on the vent frame where the adjusting screw just discussed attaches.

This shows the bottom of the vent window frame (at the same adjusting bolt in the above photos) while it is still in the car. looking up into the door cavity through a mirror.
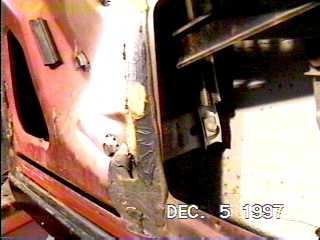
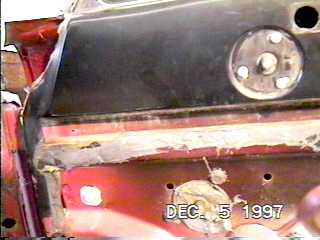
After the vent window frame is removed. Note that the vent frame rests on a stop to assist in proper installation. This photo also shows the inside door opening mechanism mounting screws.
This is the end of the Doors & Windows Edition
Part 2

Feel free to save this page to your computer for your personal use and future reference-
If you have comments or suggestions, email me at joe@joesfalcon.com